AFM for Roughness Measurement

Gaining understanding in surface roughness can give critical information in numerous scientific and industrial fields as it often plays a role in evaluating the performance of products, devices, and processes. Minute differences in surface roughness can mean the difference in joining multiple parts, a component wearing out faster, or a coating adhering to a substrate. Atomic Force Microscopy (AFM) emerges as an exceptionally powerful tool for roughness measurement and analysis. Its uniquely high resolution capabilities in both lateral and vertical directions makes the technique essential for characterizing roughness at the nanoscale.
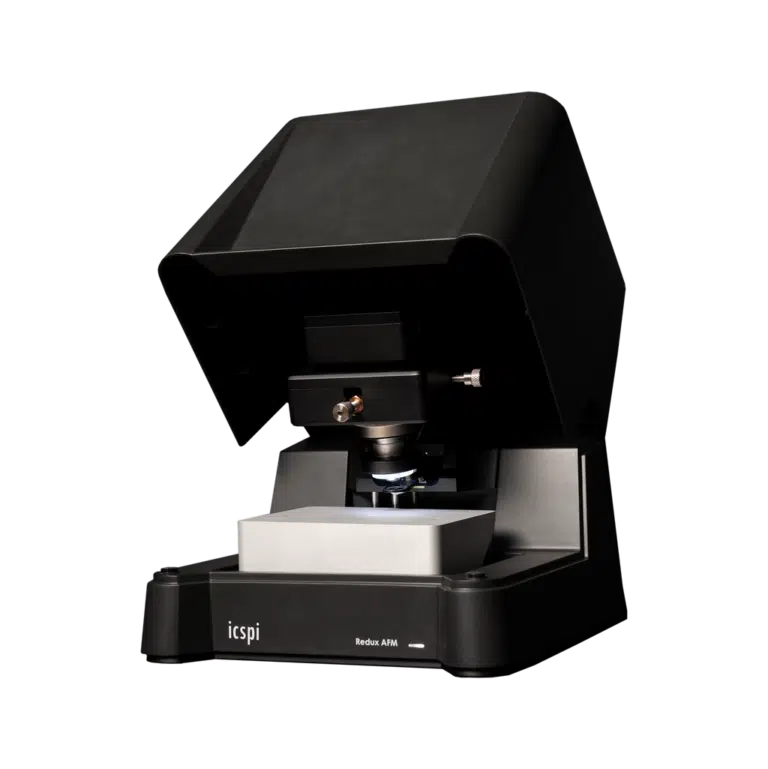
In this field, the nGauge and Redux Atomic Force Microscopes stand out, marrying unmatched precision, adaptability, and ease of use for looking at roughness measurements. Their proficiency in accurately gauging roughness values down to the single nanometer scale makes them indispensable in both research and industrial contexts.
How smooth is smooth really? Often samples that look smooth to the human eye or to other techniques are shown to be anything but when analyzed under AFM. Techniques involving optical methods are insufficient for gathering detailed roughness as their resolution ability is far below what is needed. More intensive techniques like SEM demands more complexity in operation as well as more arduous and potentially destructive scanning for non-conductive samples while still struggling with obtaining vertical resolution data.
AFMs, through a direct mechanical contact scanning method where the only limitation is the radius of the scanning probe itself, excel in providing detailed, quantitative three-dimensional data. This ability is particularly advantageous in lifetime testing and when assessing how various stages of processing affect a product. Such in-depth data is vital across various applications, from semiconductor manufacturing to materials science research.

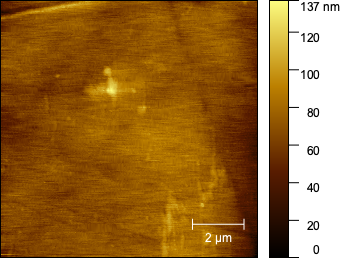
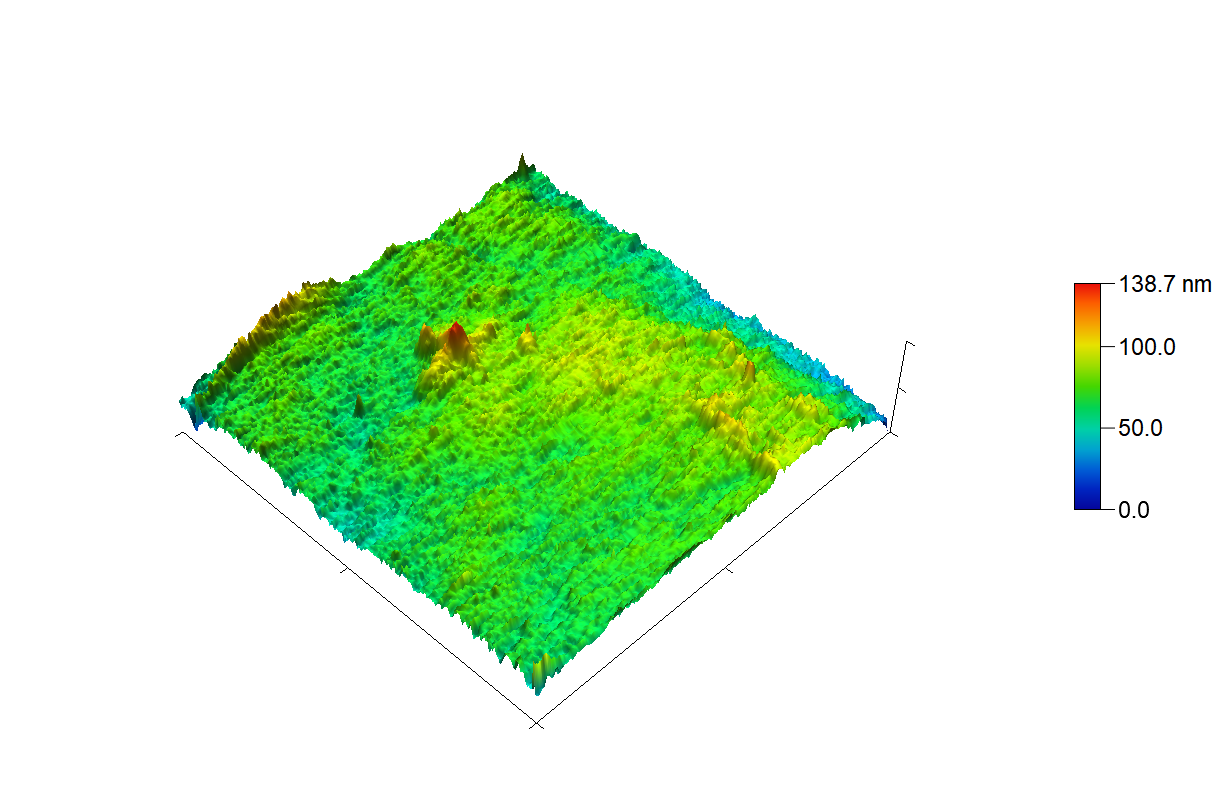
From the collected data of the AFM image shown, we are able to generate a detailed 3D map, easily allowing for the surface roughness to be seen. In addition, we are also able to extract values using a statistical quantities tool where we see that the root-mean-square roughness is 11.81 nm. Through this example, we can see how AFM enables a deeper exploration of the intricate surface roughness of a sample.

Contact profilometry is another common technique used to measure surface roughness that does have the vertical resolution needed to get detailed results. However, stylus profilometry only generates data in the form of 2D line profiles instead of 3D maps. This can cause crucial parts of the full picture to be left out and limits the data analysis that can be done
| ICSPI AFM | Stylus profilometer | White light interferometer (WLI) | |
|---|---|---|---|
| Sample type | Virtually any sample | Virtually any sample | Can struggle if the sample is not reflective and with steep cut-offs in sample topography |
| Non-destructive | ✔ | Depends on sample | ✔ |
| Time to data | Fast | Fast | Fast |
| Lateral resolution | <20 nm | 2000 nm | ~100 - 500 nm |
| Vertical resolution | <1 nm | <1 nm | <1 nm |
| Average roughness (Ra) | ✔ | ✔ | ✔ |
| 3D data | ✔ | ✖ | ✔ |
| Power spectral density | ✔ | ✖ | ✔ |
| Roughness range | High-frequency roughness | Medium- to low-frequency roughness | Medium- to low-frequency roughness |
In conclusion, AFMs are outstanding tools for roughness analysis. Their advanced capabilities in capturing detailed three-dimensional surface data, along with the precision and user-friendliness of our models, make them crucial instruments for scientific research and industrial applications.
Our AFMs – the Redux and nGauge – surpass and complement traditional techniques in providing richer, more accurate data, and enhance the efficiency and reliability of roughness measurements, solidifying their role as critical technologies in the field of nanoscale material analysis.
Compared to legacy AFMs, our systems provide much faster time-to-data combined with greater ease of use in a small form-factor. Our systems do away with traditional laser alignment and manual approach systems in favour of an automated micro-electromechanical-based system (MEMS) that greatly reduces the burden on the user. Our AFMs can live right on your benchtop and unlock your full capabilities.
Speak with an expert
Interested to learn more about how AFM can provide insight on the roughness of your samples at the nanoscale?

